
How to Prevent Camera Vandalism at Your Property
[yasr_overall_rating]
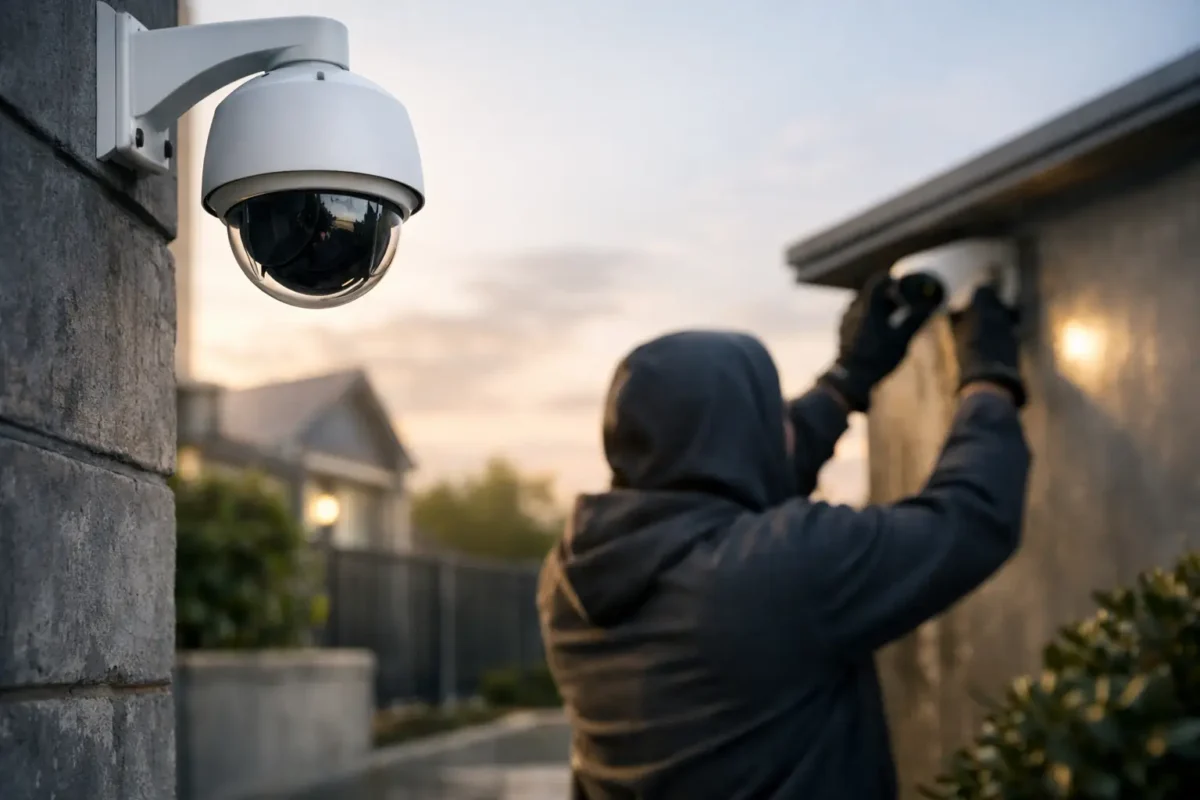
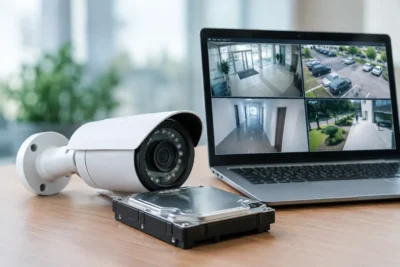
A damaged security camera does more than create a replacement cost. It can leave a loading area, entry point, parking lot, or job site unrecorded at the exact time you need evidence. Knowing how to prevent camera vandalism starts with treating the camera as part of a complete security design, not as a piece of equipment mounted wherever there is an open wall.
For businesses and properties facing repeat theft, trespassing, or after-hours activity, the right approach combines placement, commercial-grade hardware, protected cabling, visible deterrence, and off-site recording. The goal is simple: make cameras difficult to reach, difficult to disable, and easy to replace or investigate if someone tries.
How to Prevent Camera Vandalism With Better Placement
Most camera vandalism is opportunistic. Someone sees a camera within reach, recognizes an exposed cable, and believes they can knock it down or cut power before being identified. A well-placed system removes that opportunity without sacrificing the view needed to document an incident.
Mount exterior cameras high enough that they cannot be reached from the ground, a trash enclosure, a fence, or nearby equipment. For many commercial locations, 10 to 15 feet is a practical range, but height alone is not the answer. A camera positioned too high may capture hats and shoulders instead of usable facial detail. The installer must balance tamper resistance with the lens angle, scene width, lighting, and identification distance.
Avoid mounting every camera in the same obvious location. A camera over the front entrance is valuable, but it should not be the only device covering that entrance. Use overlapping views so one camera records the area around another camera. A vandal who approaches a device can then be captured before they touch it.
This matters especially at smoke shops, jewelry stores, daycares, and parking facilities. Each has predictable pressure points: customer doors, rear exits, cash-handling areas, gates, vehicle lanes, and secluded corners. At construction sites, moveable materials and changing access routes mean camera locations should be reviewed as the job progresses.
Choose Hardware Built to Take Abuse
Indoor consumer cameras are not designed for exposed exterior walls, high-risk entrances, or public-facing facilities. A business-grade camera should be selected for the actual conditions at the property, including weather, impact risk, available light, and the likelihood of intentional tampering.
Vandal-resistant dome cameras are often a strong choice for lower mounting heights and public areas. Their hardened housings make it harder to alter the camera angle, strike the lens, or identify exactly where the lens is pointing. Look for models with an appropriate impact rating, such as IK10, when the camera is exposed to deliberate impact. Weather resistance also matters outdoors, where rain, dust, and temperature swings can weaken lower-grade equipment over time.
Bullet cameras can be highly visible and effective as a deterrent, particularly along drive lanes, perimeter fences, and rear approaches. Because their direction is obvious, they tell a visitor that an area is being watched. The trade-off is that certain bullet models may be easier to grab or redirect if mounted too low. Use a solid mounting surface, a protected bracket, and a height that keeps the camera out of reach.
For larger lots and active job sites, PTZ cameras can provide long-range views and allow an operator to follow activity. They should complement fixed cameras, not replace them. A PTZ may be looking one direction when an incident occurs elsewhere, while fixed cameras keep continuous coverage on key doors, lanes, and assets.
Protect the Cable, Power, and Recording Path
A camera can be perfectly housed and still fail if a person can cut its cable or interrupt its power. Exposed wiring is one of the most common system weaknesses, particularly on retrofitted buildings where cable routes were chosen for speed rather than protection.
Whenever possible, run cabling through walls, ceilings, conduit, or metal raceway. The cable should enter through the rear of the camera mount rather than hanging below it. At exterior locations, use properly sealed junction boxes and fittings to prevent water intrusion as well as tampering. A clean installation is not just an appearance issue. It reduces accessible failure points.
Power over Ethernet cameras simplify the design by carrying power and data over one network cable, but the network equipment still needs protection. Keep network switches, recorders, and power supplies in a locked room or secured enclosure. For a site with frequent power interruptions or a known risk of electrical interference, an appropriately sized battery backup can keep cameras and recording equipment running long enough to capture an event.
Do not rely only on a recorder located at the property. If someone steals or damages the recorder, local footage may be lost with it. Off-site or cloud backup for critical cameras creates a second evidence path. The right retention plan depends on the number of cameras, image resolution, activity level, and how long your organization needs to retain footage. A parking lot or high-traffic storefront may need a different storage calculation than a small office.
Design Deterrence Without Creating Blind Spots
Visible cameras discourage many offenders, but visibility should be intentional. Mounting a clearly marked camera near a primary entrance, gate, or customer parking area signals that the property is monitored. Security signage can reinforce that message and may help establish expectations for visitors and employees.
At the same time, do not make the entire system predictable. Highly visible cameras should be backed by coverage that records approaches, side paths, rear doors, and the area where someone might try to conceal themselves before acting. The objective is not to hide every camera. It is to prevent a person from disabling one device and assuming the incident is no longer recorded.
Lighting is part of this design. Dark corners invite both vandalism and poor video evidence. Add controlled exterior lighting where appropriate, and choose cameras with low-light performance that matches the scene. Be careful with floodlights aimed directly into the lens, headlights entering a parking lot, or reflective surfaces near an entrance. These conditions can reduce image quality at the moment a person approaches a camera.
Use Alerts to Respond Before Damage Spreads
Vandalism often takes more than a few seconds. Someone may test a gate, loiter near a wall, climb a fence, or walk through a restricted area before touching equipment. Motion analytics and AI-based human or vehicle detection can notify the right person earlier than traditional motion detection alone.
The alert setup must be tuned. Too many notifications from passing traffic, rain, branches, or customer activity cause alert fatigue. Too few alerts leave the site dependent on reviewing footage after the fact. Define activity zones around cameras, utility boxes, gates, and high-value assets, then test alerts at different times of day.
For multi-site businesses, establish a response procedure before an alert arrives. Identify who receives the notification, who can review live video, who contacts law enforcement when necessary, and who opens a service ticket if a camera goes offline. A camera that suddenly loses connection, changes its view, or goes dark should be treated as a security event, not merely an IT issue.
Maintain the System Before It Becomes an Easy Target
A neglected camera is easier to vandalize and less likely to provide useful footage. Make visual inspections part of regular property checks. Confirm that mounts are tight, housings are intact, lenses are clean, cables remain concealed, and each camera is producing a usable image. Review footage after storms, construction activity, landscaping work, or any incident near the camera line.
A practical maintenance check should also verify recording status, available storage, time and date accuracy, remote access, and backup functionality. If video is needed for a police report, insurance claim, or employee incident, an incorrect timestamp or failed recorder can create unnecessary problems.
When a camera is damaged, preserve the existing footage immediately and document the scene before replacing hardware. Then review why the device was vulnerable. It may need a higher mount, a more impact-resistant enclosure, better lighting, or an additional camera covering the approach. Replacing it in the same weak position invites the same result.
Get the Design and Installation Right From Day One
Preventing vandalism is less about buying the most expensive camera and more about building a system that fits the property. A small storefront may need hardened coverage at its entrances and cash area. A warehouse may need protected perimeter cameras, loading dock coverage, and secured network infrastructure. A construction site may need mobile connectivity, elevated views, and equipment that can adapt as the site changes.
Tech Security USA helps property owners and facility managers match camera types, mounting methods, recording options, and installation standards to the risks they actually face. A professional site review can identify weak approaches, blind spots, exposed cable paths, and coverage gaps before they become expensive failures.
The best next step is to walk your property after dark and look at it from the perspective of someone trying to avoid being seen or trying to disable a camera. That view often reveals exactly where a smarter camera design will protect your operation.
Posted on GoogleTrustindex verifies that the original source of the review is Google. I visited the Tech Security USA orange to install security cameras for my home. I found it a very professional company, with high quality products that were made me impressed. I recommend it to anyone who are looking a professional security cameras company in onrange city of Orange County CA.Posted on GoogleTrustindex verifies that the original source of the review is Google. “Edit (this review is not “spam” which the owner claims it is and the story is absolutely real however it was about 2 years ago and if I wasn’t shy back then(9th grade) or I wish I had done/said something about my dad and I being taken advantage of as it was a scam (quoted at around $150 but after having to wait 3weeks instead of 3 days for the guy to charge us $300 for a cheap screen that no longer had a haptic button or working Touch ID along with many white pressure dots along the edges). Do not go here. If you look at most of their 5-star reviews, they are older than 7 years. I went here recently to fix my iPad Air (3rd gen). The problem was the screen's backlight wouldn't work, so it would just show a black image. The technician said he could get it done for around $150 and in 2-3 days he would call us (my dad and I). After a week of waiting, we decided to call but to no avail. We went to the place to check up on the work done, if any. We got there and the iPad was in the exact same spot as the day we left it there. The guy told us it would be ready in about 4 days, no later, and that he would call us. We never got the call, so we went back after about another 3 days of waiting for a call (2 weeks now). After waiting, we went back to the store for the iPad, and it appeared to us as if he had just gotten started by breaking the screen to replace it. After another week, we came back and he pulled it out from a drawer saying something along the lines of, "I was about to call you guys." The screen was working, but it was clearly a cheap screen that was ordered online, and the Touch ID didn’t work anymore. The button was replaced with a non-haptic one. There are many white dots along the edges of the screen that look as if someone pressed their thumb down too hard for too long. The guy said with all the "extra" work done to it, the new total would be $300. When my dad and I looked at each other, we knew that wasn’t right, but I watched my dad grab his wallet and pay. I wish I had said something because we were taken advantage of, and after a week, the iPad's screen isn’t functioning properly as it feels unresponsive.Posted on GoogleTrustindex verifies that the original source of the review is Google. Will somebody please tell the owner to stop responding? She’s only validating the bad reviews.Posted on GoogleTrustindex verifies that the original source of the review is Google. Little messy inside but brought an old Moto Z2 Play in to finalize my failed battery self install. Done when promised, phone looked as good as new and works fine. I'm happy.Posted on GoogleTrustindex verifies that the original source of the review is Google. Garbage screen quality do not come here the screen is more different then a regular apple screen they use low quality screens the whole screen shattered and has black lines throughout it after a tiny drop with a screen protector.Posted on GoogleTrustindex verifies that the original source of the review is Google. I needed a battery replacement for my Huawei p10, the engineer fixed it in a few days (he had to order the battery) and it was reasonable priced, very good, thank youPosted on GoogleTrustindex verifies that the original source of the review is Google. Great location and employees. Really came through when I needed help. Recommend this place to anyone.Posted on GoogleTrustindex verifies that the original source of the review is Google. My go to place for any laptop and iPhone repairs. Also very friendly and experienced guy James.
Resent Posts
How to Design Jobsite Surveillance That Works
21 October 2026
Surveillance System Maintenance Guide for Uptime
19 October 2026
Table of Contents