
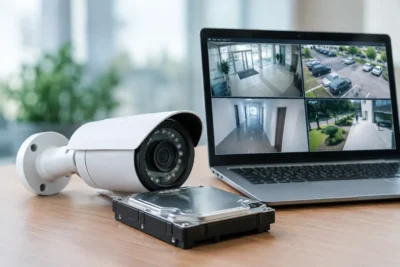
Residential Camera Placement Guide for Safer Homes
[yasr_overall_rating]
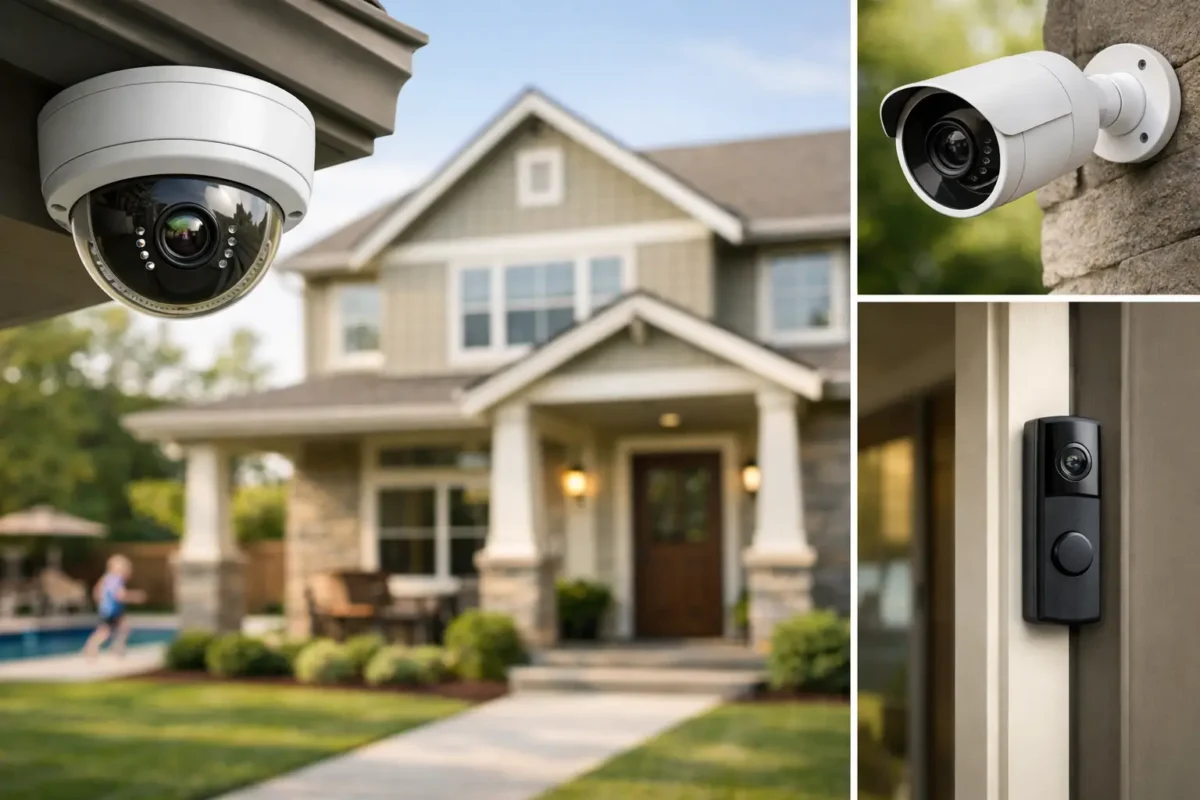
A camera over the front door can show that someone arrived. A properly placed camera can show where they came from, what they did, and which direction they left. That difference matters when you need usable footage after a package theft, vehicle break-in, attempted entry, or neighborhood incident. This residential camera placement guide focuses on coverage that supports real security decisions, not cameras mounted simply because a wall was available.
Start With the Property’s Risk Points
A home camera system should follow how people, vehicles, and valuables move around the property. Start at the perimeter and work toward the house. Identify every normal access route, then look for the routes someone would use if they wanted to avoid being seen.
For most homes, the front entry, driveway, garage, rear door, and side gate deserve priority. Ground-floor windows may also need coverage, especially where landscaping, fencing, or neighboring structures create concealment. A detached garage, shed, boat, RV, or backyard workshop may justify its own camera rather than relying on a wide shot from the house.
Walk the property in daylight and after dark. A pathway that looks open during the day can become a blind area at night because of trees, parked vehicles, porch structures, or poor lighting. This walkthrough also helps determine whether a camera should be mounted on the home, a garage, a fence line, or a purpose-built pole.
Residential Camera Placement Guide: Cover the Core Zones
The best placement is driven by the question each camera must answer. “Can I see the yard?” is usually too broad. “Can I identify a person approaching the rear door?” or “Can I document a vehicle entering the driveway?” creates a placement objective that can be tested.
Front Door and Porch
The front entry is the first camera location for most residences. Install it high enough to prevent easy tampering, but not so high that it only captures the tops of heads. A video doorbell can document visitors and deliveries, while a fixed turret, dome, or bullet camera provides a wider and often clearer view of the walkway, porch, and approach.
For stronger coverage, position the camera to see people as they approach the door rather than only when they are standing directly below it. A face captured at an angle from several feet away is generally more useful than a close overhead view. If the porch is deep, shaded, or heavily backlit, camera selection and lighting need to be addressed together.
Driveway, Garage, and Street Approach
Driveway cameras need to cover more than the garage door. They should capture vehicles entering and leaving, the area beside parked cars, and the path between the driveway and the home. Mounting a camera at the garage corner often gives a practical diagonal view, but every property is different. A camera pointed straight down a driveway may miss activity near the side yard or front walk.
If vehicle identification is a priority, a general overview camera is not the same as a license plate recognition camera. Plate capture depends on vehicle speed, camera angle, distance, lighting, and settings. A dedicated LPR design may be appropriate for long driveways, gated properties, or recurring vehicle-related incidents, while a standard camera is often sufficient for ordinary driveway monitoring.
Avoid relying on a camera aimed far down the street. Wide views are useful for context, but faces and plate details become less usable as the target moves farther from the lens. Use an overview camera for the scene and a closer, purpose-positioned camera for identification.
Side Yards, Gates, and Rear Doors
Side yards are common weak points because they are less visible from the street and often poorly lit. A camera mounted under an eave at the rear corner of the home can cover a side gate and the path to a rear entry. Where possible, create overlapping views from two cameras. One camera should not be the only record of an access point if a person can approach from outside its field of view.
The rear door deserves the same attention as the front door, particularly for homes with fenced yards, decks, sliding doors, or direct access from an alley. Position the camera to record the approach and the immediate door area. Do not mount it so close to a bright patio light that the camera struggles with glare and exposure changes after sunset.
Backyard Assets and Detached Structures
Backyard cameras are valuable when the area contains equipment, recreational vehicles, tools, outdoor kitchens, or access to a detached structure. A single wide-angle camera can provide situational awareness, but it may not identify someone at the far end of a large yard.
For larger properties, it is often better to use one camera for the gate or access route and another for the assets themselves. PTZ cameras can be useful for active monitoring, but they should not replace fixed cameras at critical points. A PTZ camera can be looking in the wrong direction when an event occurs. Fixed cameras maintain continuous evidence at the locations that matter most.
Mounting Height, Angle, and Lighting Decide Footage Quality
Most exterior residential cameras perform well when mounted roughly 8 to 10 feet above ground level. That height is typically out of reach while still allowing a useful facial angle. Higher mounting can expand the visible area, but it reduces detail on people and packages near the camera.
Angle matters as much as height. Point the camera across a path of travel whenever possible, not directly at the area where a person will stop. This gives the camera more time to capture a face and reduces the chance that a hat, hood, or porch roof blocks the view. Keep the horizon level enough to preserve detail instead of wasting the image on sky, roofline, or pavement.
Night performance must be tested on site. Infrared illumination can reflect off white walls, gutters, windows, and nearby foliage, creating haze or bright spots. A camera may look excellent in a daytime installation test and become ineffective after dark. In many cases, a properly positioned motion light or low-glare exterior lighting improves identification more than adding another camera.
Avoid Common Coverage Mistakes
Residential systems often fail because the installer or homeowner treated field of view as the only specification. A wide-angle image may show more property, but it spreads available pixels across a larger area. The result is broad awareness with limited identification value.
Do not place every camera at the same height or aim them all toward the center of the yard. That approach can leave major blind spots along fences, gates, and side paths. It also creates a single viewpoint problem: if a person blocks, damages, or bypasses one camera, there may be no second angle.
Be careful with windows. Cameras mounted inside and pointed through glass usually perform poorly at night due to reflections from interior lights and infrared. Exterior-rated cameras mounted outside generally produce better results and provide a clearer view of the approach.
Also consider network and power planning before finalizing positions. Wi-Fi cameras can be practical for a small installation, but exterior signal strength varies with wall materials, distance, and interference. Wired Power over Ethernet systems offer dependable power and data over a single cable and are often the better choice for permanent, business-grade residential coverage. The best camera location is not useful if the network connection drops or the recording system cannot retain footage when it is needed.
Build Privacy Into the Design
A security camera should protect your property without unnecessarily recording private areas. Aim cameras at your doors, driveway, gates, and assets. Avoid direct views into a neighbor’s windows, fenced living spaces, or areas where people reasonably expect privacy.
Many modern cameras support privacy masks that block selected parts of the image from recording. These can be useful when a neighbor’s property or a public area appears at the edge of the frame. Audio recording rules can vary by location, so confirm local requirements before enabling microphone features. A professional design should account for privacy, local conditions, and the specific evidence you need to collect.
Choose the Right System Before You Install
A basic home may need three or four fixed cameras covering the front entry, driveway, rear entry, and side access. A larger property may need dedicated views for gates, detached buildings, backyard assets, and vehicle access. The number of cameras is less important than whether each critical route has a clear purpose and usable coverage.
Camera type should match the location. Turret cameras are a practical option under eaves and on exterior walls. Bullet cameras provide a visible deterrent and can be effective for longer views. Dome cameras suit areas where a more discreet appearance or vandal-resistant housing is preferred. AI-enabled cameras can reduce nuisance alerts by distinguishing people and vehicles from routine movement, but they still need correct placement to perform well.
Tech Security USA helps homeowners move from a rough idea of coverage to a system designed and installed correctly, with business-grade hardware and support after the installation. A site-specific review can prevent the most expensive mistake in home surveillance: paying for cameras that record activity without delivering the detail needed to act on it.
Before mounting the first camera, stand at each entry route and ask what footage you would want after an incident. Design for that moment. Clear views of people, vehicles, and access points will serve your home far better than a collection of wide shots with no usable answers.
Posted on GoogleTrustindex verifies that the original source of the review is Google. I visited the Tech Security USA orange to install security cameras for my home. I found it a very professional company, with high quality products that were made me impressed. I recommend it to anyone who are looking a professional security cameras company in onrange city of Orange County CA.Posted on GoogleTrustindex verifies that the original source of the review is Google. “Edit (this review is not “spam” which the owner claims it is and the story is absolutely real however it was about 2 years ago and if I wasn’t shy back then(9th grade) or I wish I had done/said something about my dad and I being taken advantage of as it was a scam (quoted at around $150 but after having to wait 3weeks instead of 3 days for the guy to charge us $300 for a cheap screen that no longer had a haptic button or working Touch ID along with many white pressure dots along the edges). Do not go here. If you look at most of their 5-star reviews, they are older than 7 years. I went here recently to fix my iPad Air (3rd gen). The problem was the screen's backlight wouldn't work, so it would just show a black image. The technician said he could get it done for around $150 and in 2-3 days he would call us (my dad and I). After a week of waiting, we decided to call but to no avail. We went to the place to check up on the work done, if any. We got there and the iPad was in the exact same spot as the day we left it there. The guy told us it would be ready in about 4 days, no later, and that he would call us. We never got the call, so we went back after about another 3 days of waiting for a call (2 weeks now). After waiting, we went back to the store for the iPad, and it appeared to us as if he had just gotten started by breaking the screen to replace it. After another week, we came back and he pulled it out from a drawer saying something along the lines of, "I was about to call you guys." The screen was working, but it was clearly a cheap screen that was ordered online, and the Touch ID didn’t work anymore. The button was replaced with a non-haptic one. There are many white dots along the edges of the screen that look as if someone pressed their thumb down too hard for too long. The guy said with all the "extra" work done to it, the new total would be $300. When my dad and I looked at each other, we knew that wasn’t right, but I watched my dad grab his wallet and pay. I wish I had said something because we were taken advantage of, and after a week, the iPad's screen isn’t functioning properly as it feels unresponsive.Posted on GoogleTrustindex verifies that the original source of the review is Google. Will somebody please tell the owner to stop responding? She’s only validating the bad reviews.Posted on GoogleTrustindex verifies that the original source of the review is Google. Little messy inside but brought an old Moto Z2 Play in to finalize my failed battery self install. Done when promised, phone looked as good as new and works fine. I'm happy.Posted on GoogleTrustindex verifies that the original source of the review is Google. Garbage screen quality do not come here the screen is more different then a regular apple screen they use low quality screens the whole screen shattered and has black lines throughout it after a tiny drop with a screen protector.Posted on GoogleTrustindex verifies that the original source of the review is Google. I needed a battery replacement for my Huawei p10, the engineer fixed it in a few days (he had to order the battery) and it was reasonable priced, very good, thank youPosted on GoogleTrustindex verifies that the original source of the review is Google. Great location and employees. Really came through when I needed help. Recommend this place to anyone.Posted on GoogleTrustindex verifies that the original source of the review is Google. My go to place for any laptop and iPhone repairs. Also very friendly and experienced guy James.
Resent Posts
How to Design Jobsite Surveillance That Works
21 October 2026
Surveillance System Maintenance Guide for Uptime
19 October 2026
Table of Contents